
A 2D Digital Art Tutorial- Exosaur
Andrieri Stefano is a freelance concept artist specializing in stylized art. His goal is to eventually run his own game company. He's at a great start with his Art War 3 entry- Exesaur that made it to the First Round! He takes us through his work flow in this tutorial.
Step 1: Brainstorming Ideas
This Art War was about super powers so after sketching some first ideas for the character I started writing all super powers I could think of- common and non then categorize them:

The rules required that the super power must be shown explicitly in the final illustration. With this in mind, I could already exclude most of the super powers that would make them difficult to be shown in a single illustration or that would be too common or boring.
Step 2: Character Design
Instead of focusing straightaway on a single character, I started doing some thumbnails and sketches for three different ones; later on I would choose the best one:
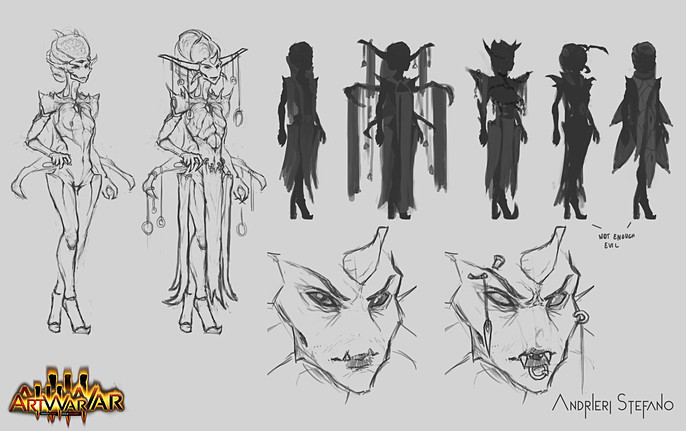
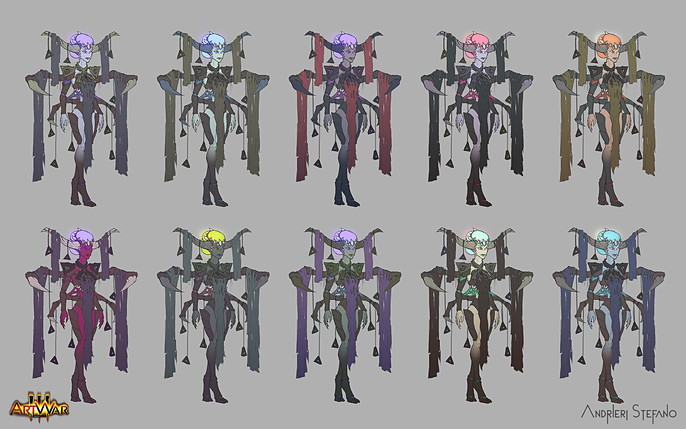
With this one, I wanted to create a sort of alien-insect queen. I also refined it into two variants and did some color palettes:


For her super power, something like mind control or the ability to zombify enemies to create an army, but that would be a boring idea and also wouldn't be easy to be shown in the final illustration. So, I discarded this character.

This one I discarded just after making the thumbnails, it looked to me too average and boring.

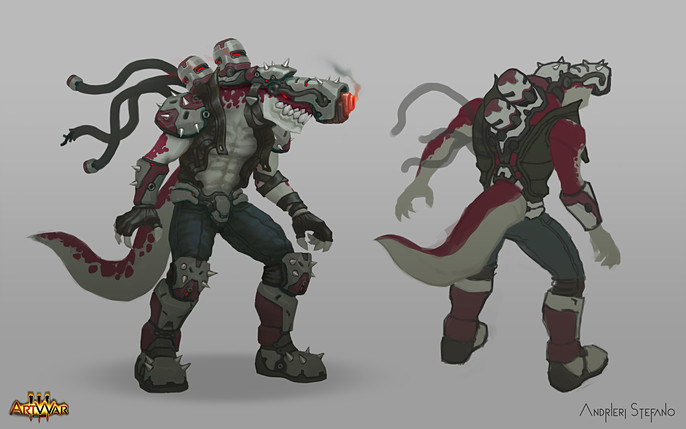
This is the one I chose for the final illustration.
At the beginning, it was a cyborg with a gun on his head then I realized with the cannon on his head his weight would be unbalanced especially for the recoil that could break his neck.
So I thought, how can I balance his head? Maybe adding a tail like a dinosaurs. Why not make a cyborg-dinosaur with a gun on his head?
This is how I ended up with this idea.
After that, I combined the element I liked more from the previous thumbnails in this rough concept:

Did some color variations:
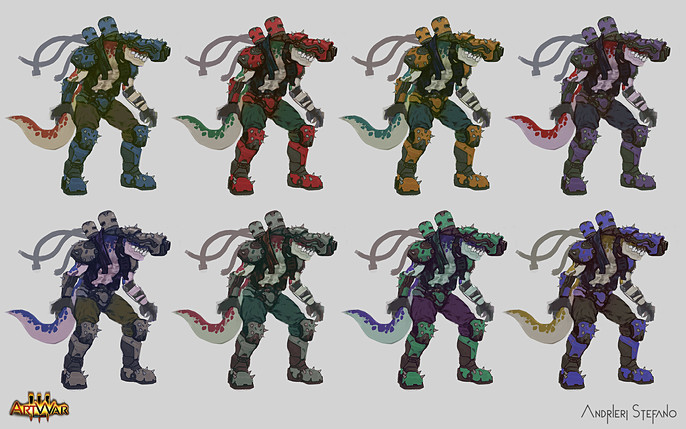
Picked the best palette, cleaned and refined:
Step 3: The Final Illustration
For the illustration, I always start with very simple thumbnails:
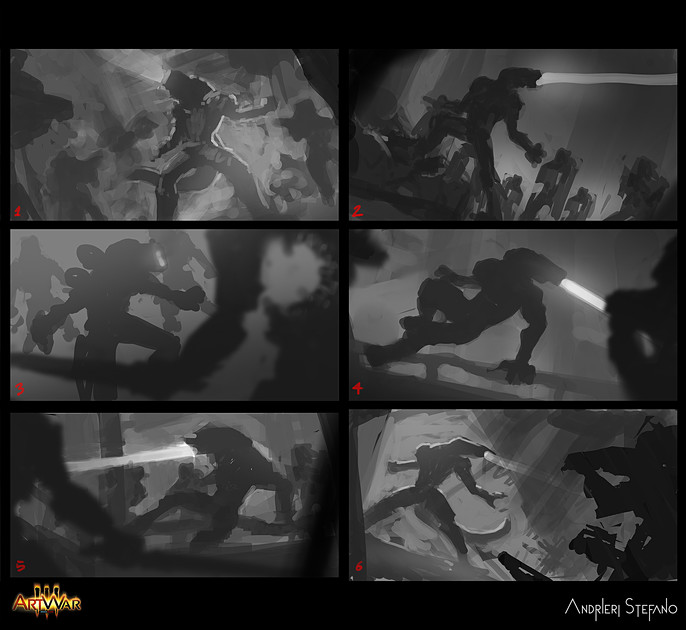
I picked 5 as I wanted to make it very dynamic.
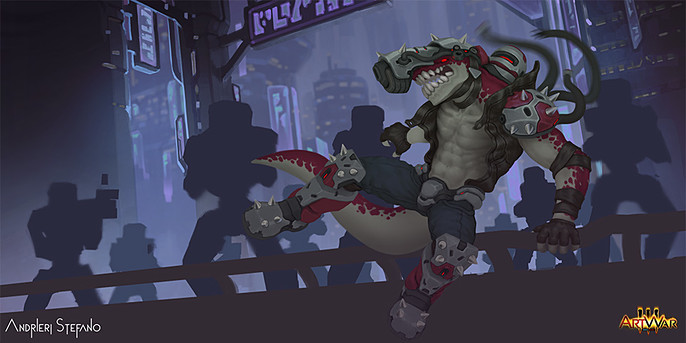
The rest of the process is nothing special. I just separated all the elements into flat layers.

For the main character, different layers for different materials (skin, metal, fabric, etc...). I also added some base colors.

The way I render is also simple. For every material I paint the shadow on top of the base color, then I like to add some highlights on the edges to make the shape pop out and give it a more stylized look, especially on hard surface materials.

I've just used a multiply layer on top of the main ones for the red color on the skin and armor.
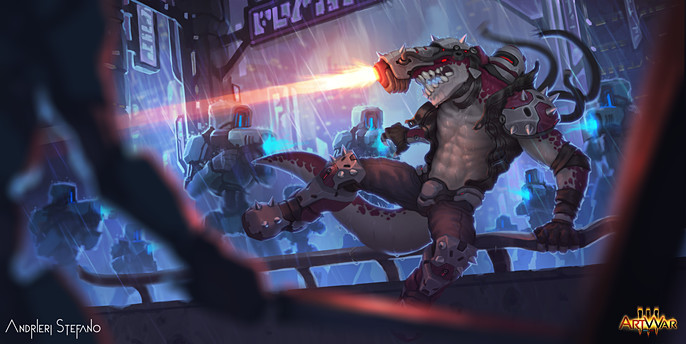
At the very end I add some extra details like rain, water drops, light effects, bloom and some color correction layers.

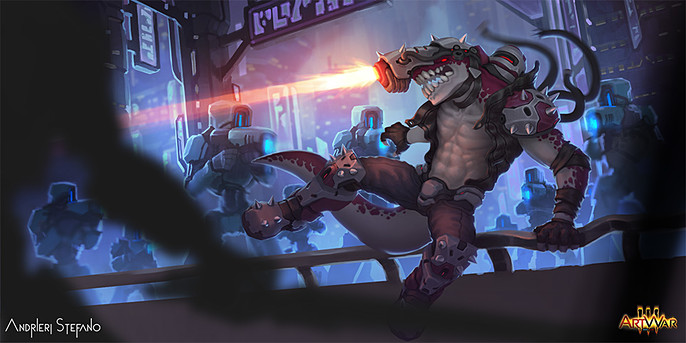

Final Illustration:
Thanks for reading.
You can follow Stefano here: