
The Making of a 2D Witch Using Spine
This tutorial gives a step by step process of creating a 2D character with Spine.
Annie Rodriguez has been working with Spine for 2D game development for several years. She utilizes her experience and takes us through the creation of Witch where we learn the importance of prioritizing pieces, how to position those pieces and the process of applying meshes to make a more cohesive look.
In the last few years, I have been using Spine for 2D game development and I'm absolutely in love with it! I found it's on-boarding process is fairly easy as the developers have put a lot of information online on how to use it. Other developers that I have worked with also enjoy the exporting system.
Out of all the things you can do with it I believe learning to design, draw and build a cut-out character is one of the most useful. Building a puppet is not just about the software itself. We can't just cut a drawing into pieces and import it for it to be animatable.

When creating a puppet, you want to make it a breeze for yourself or the animation team and you also want to think ahead of their needs in the production.
So I am hoping the following walkthrough of my personnal pipeline in Spine will be insightful. Here are the steps covered in the tutorial:
1) Designing the Character Pieces in Photoshop

2) Analyzing the Hierarchy of a Humanoid Puppet

3) Building a Bone Hierarchy and Importing the Images That Will be Linked to Those Bones

4) Positioning the Bones on the Puppet and Tweaking for Better Animation

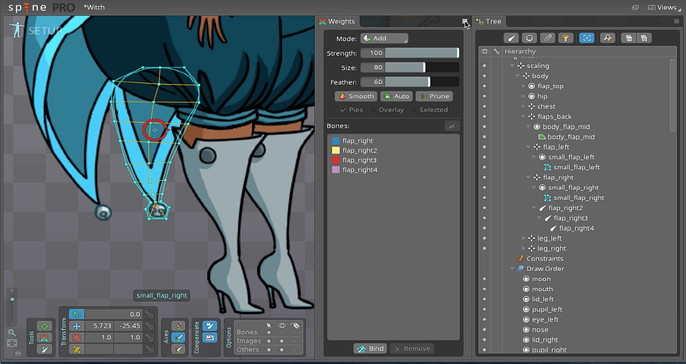
5) Create Mesh on Specific Images, Binding Them to Bones with the Weight Tool
I want to emphasize that this walk-through is one of a basic puppet. I tried to stay away from advanced techniques because most of the time they are not need to create a great cut-out character.
I hope it will inspire you to create your own design and bring them to life! Happy animating!