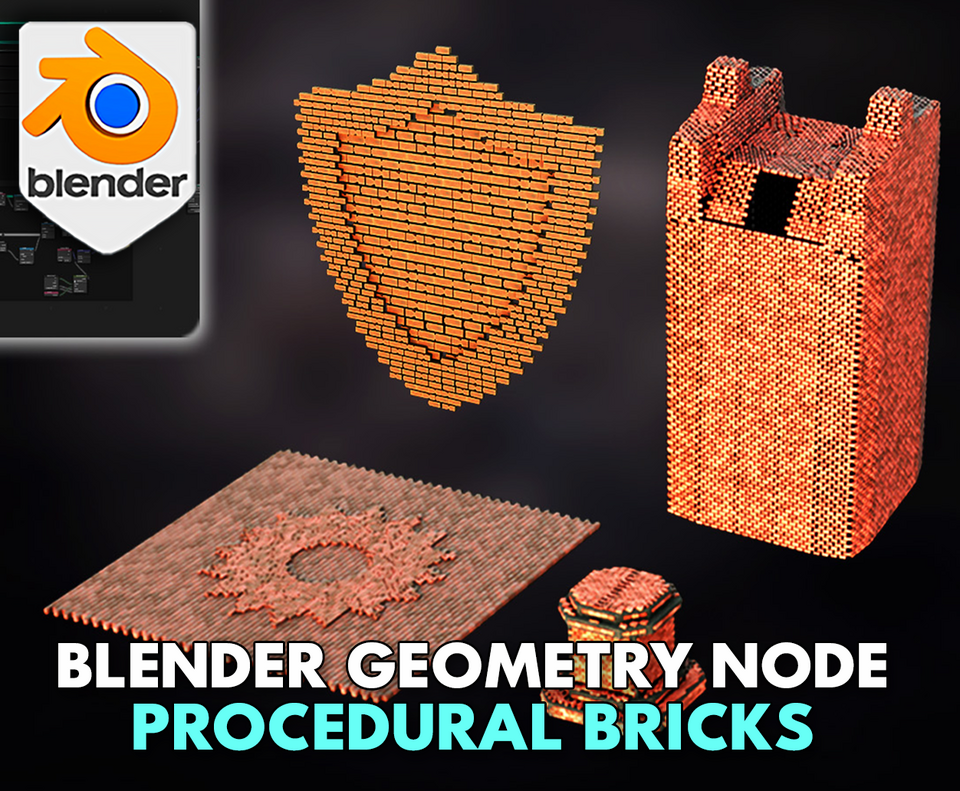
3DT Brickify – Blender Geometry Node Procedural
3DT Brickify – Blender Geometry Nodes
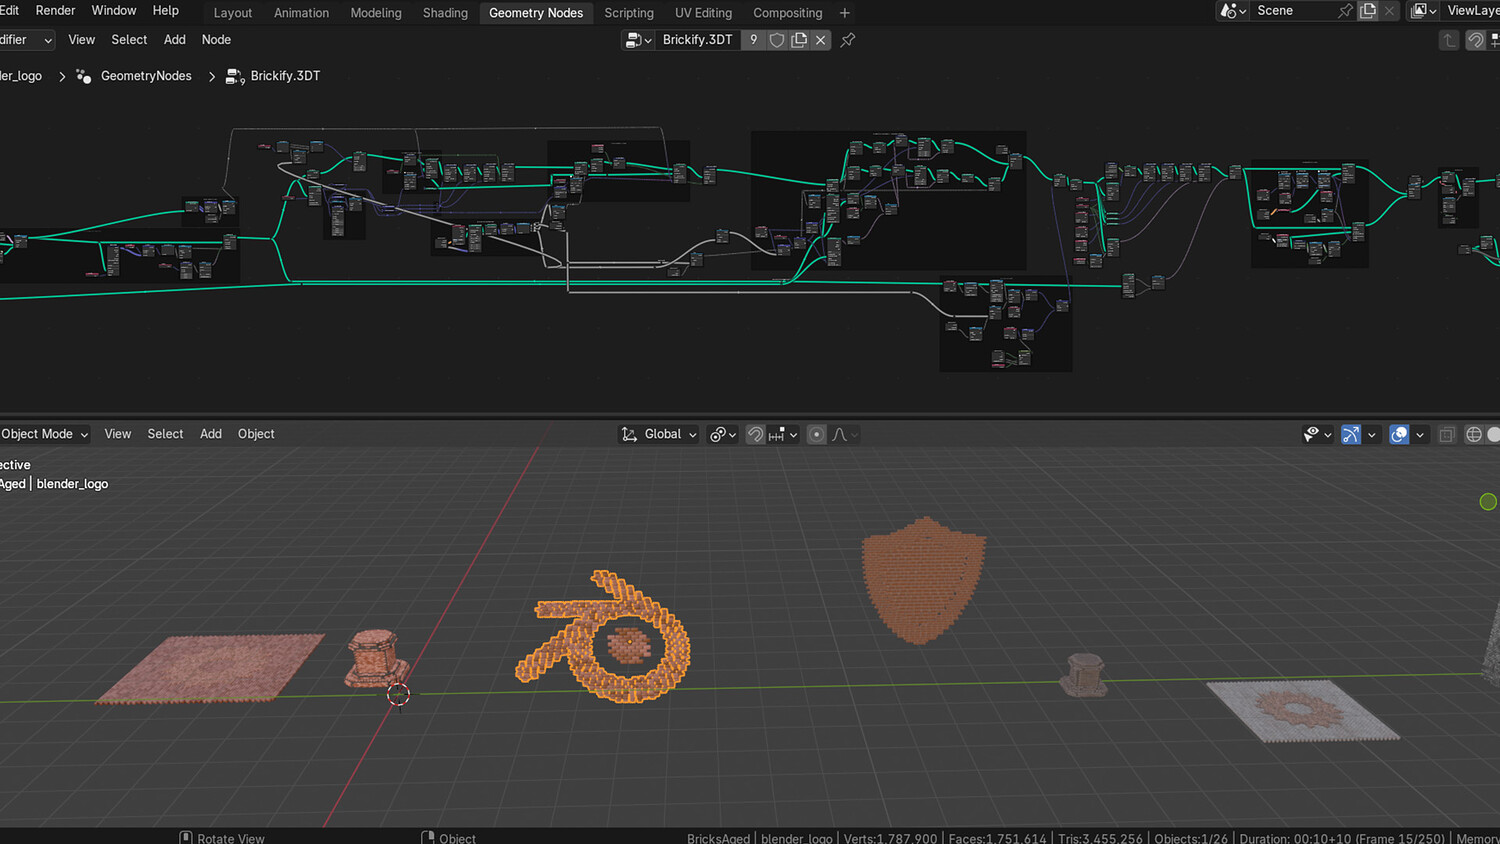
🎥 Demo Video
Transform any mesh into customizable stylized brickwork with the 3DT Brickify Generator!
Designed for Blender 4.0+, this geometry node setup allows you to instantly apply bricks onto 2D and 3D surfaces, complete with detailed material blending, adjustable scaling, edge weathering, and custom pattern control for architectural and creative scenes.
🎯 Key Features

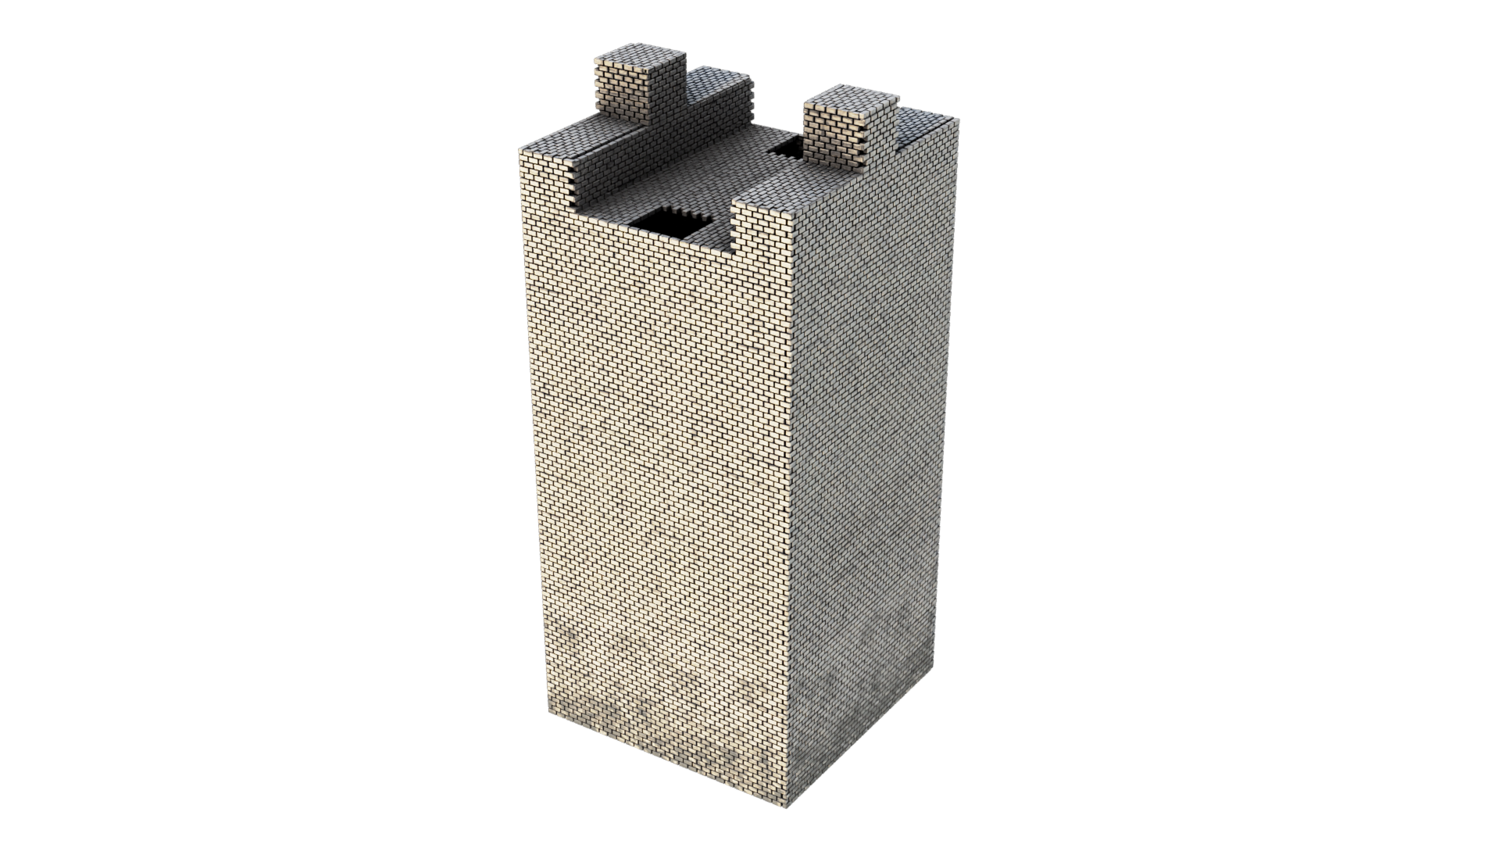
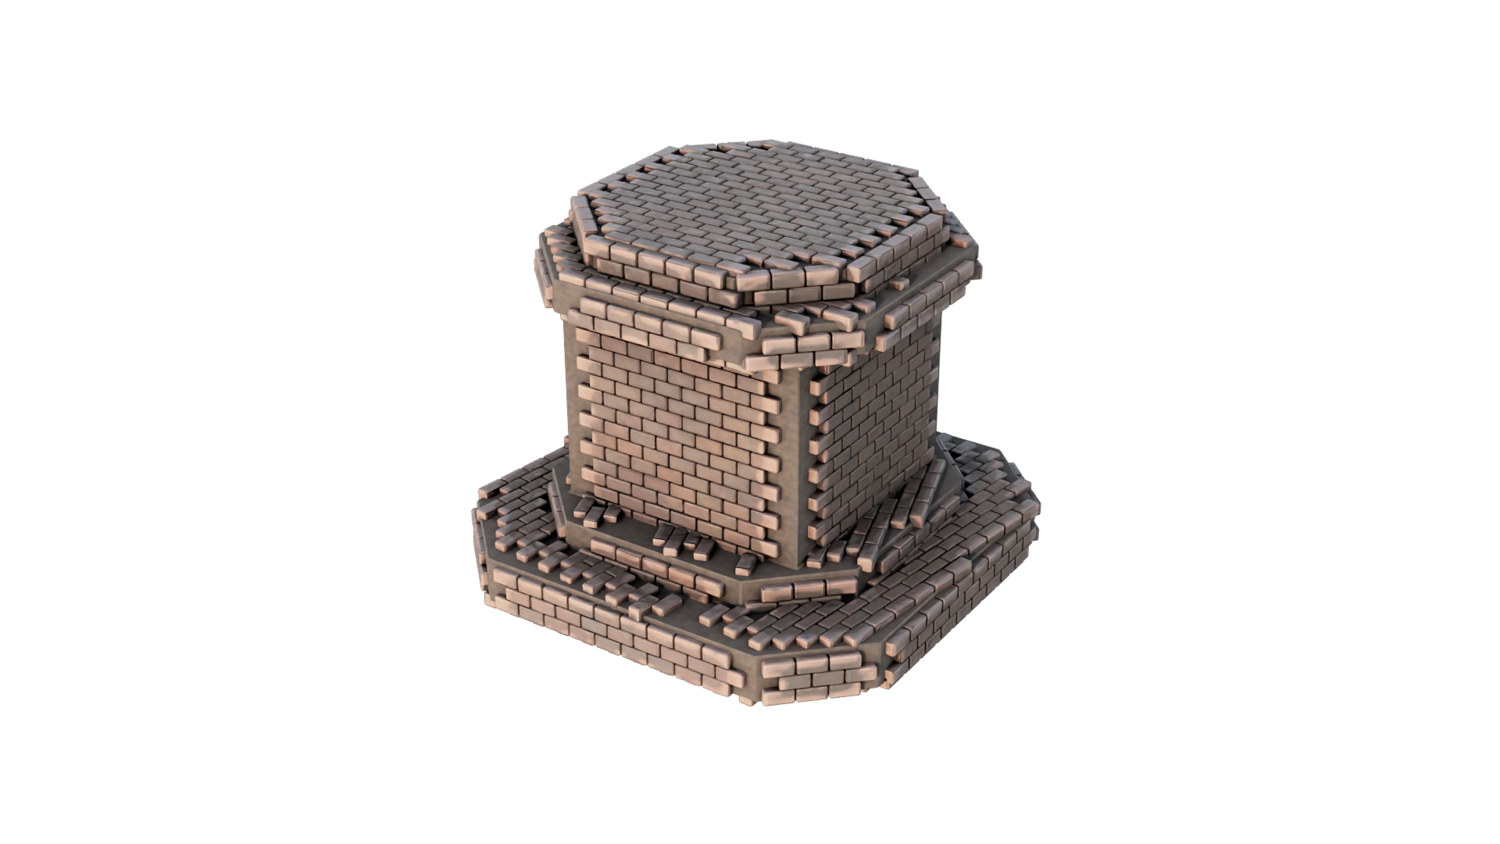
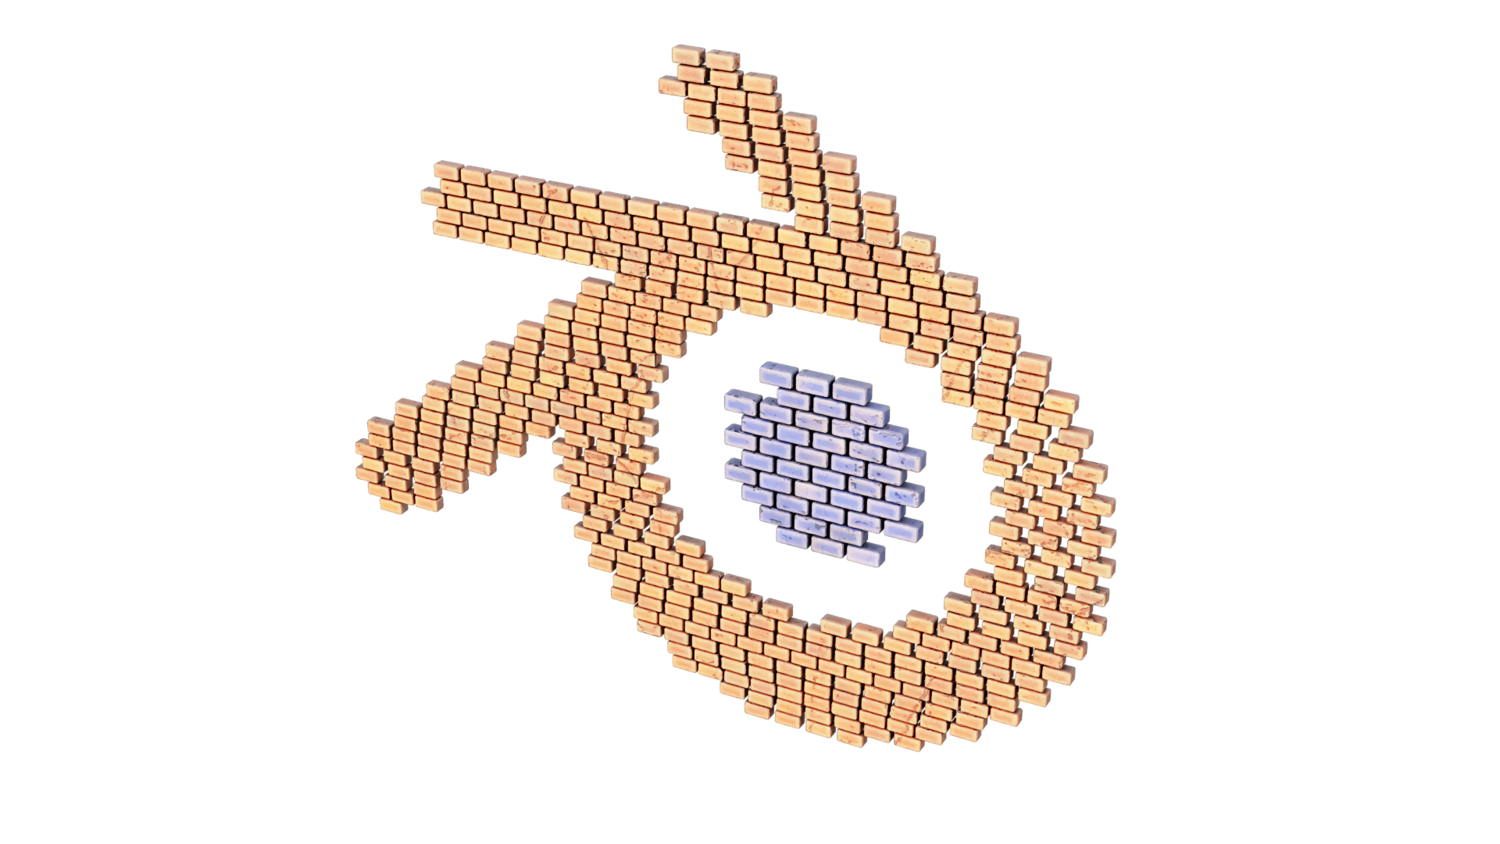
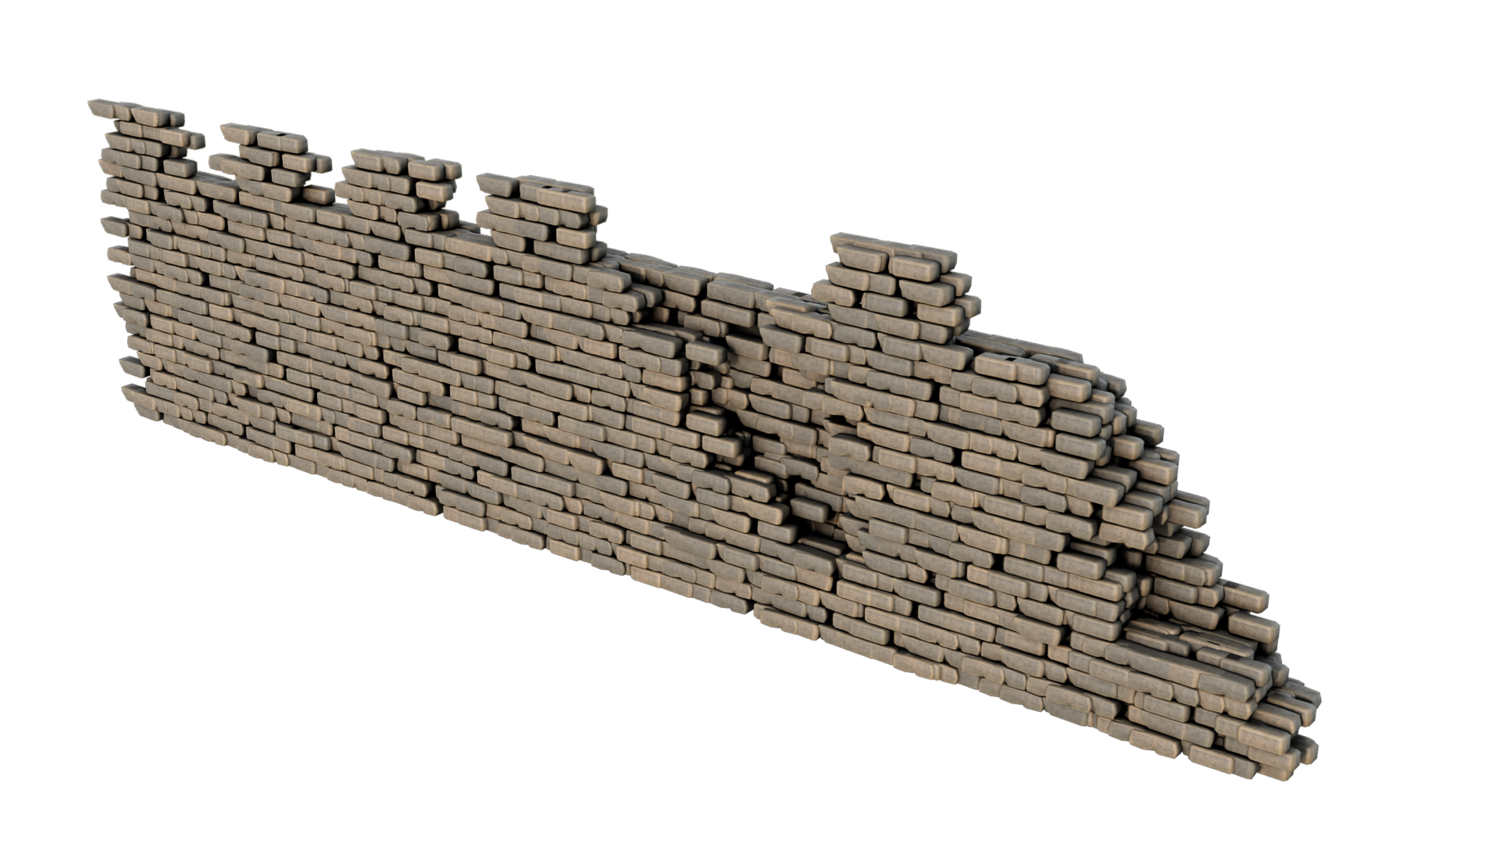
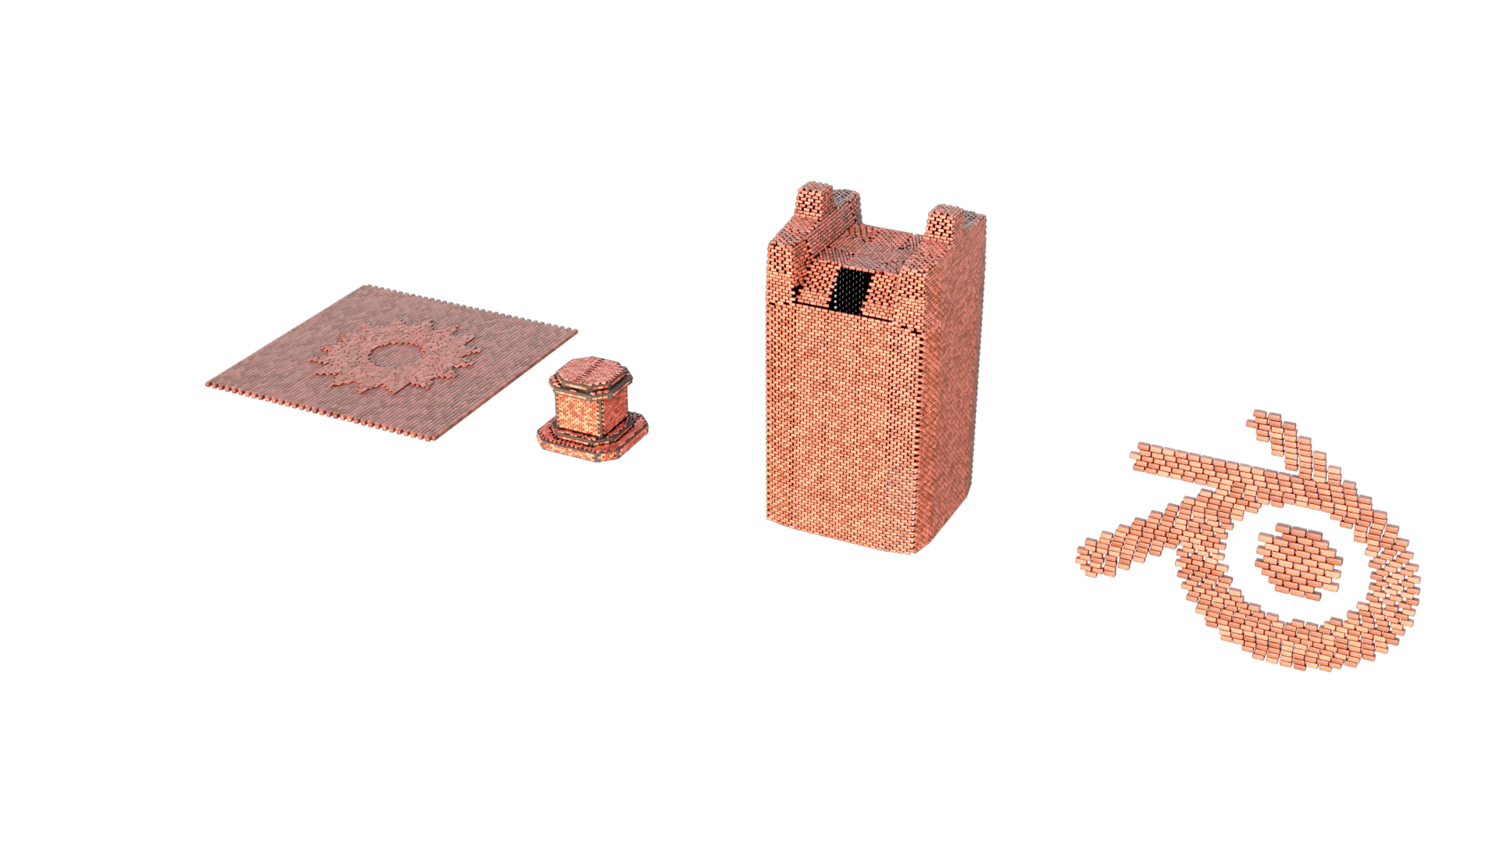
Instant Brickification of Any Mesh
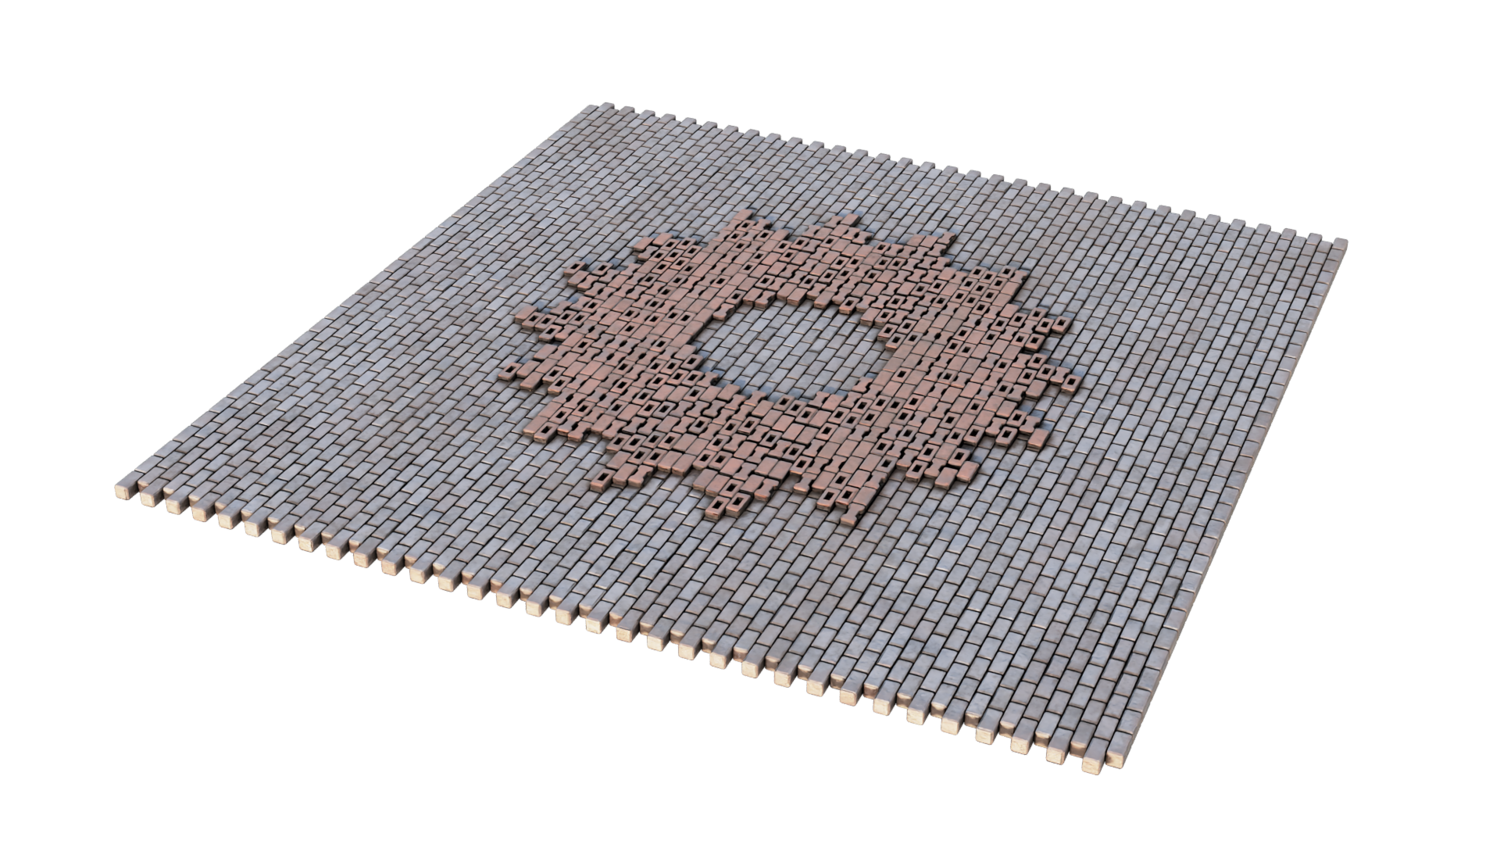
Apply bricks to planes, walls, towers, logos, floors, and sculptures — 2D and 3D ready.
Scale, Pattern, and Material Controls
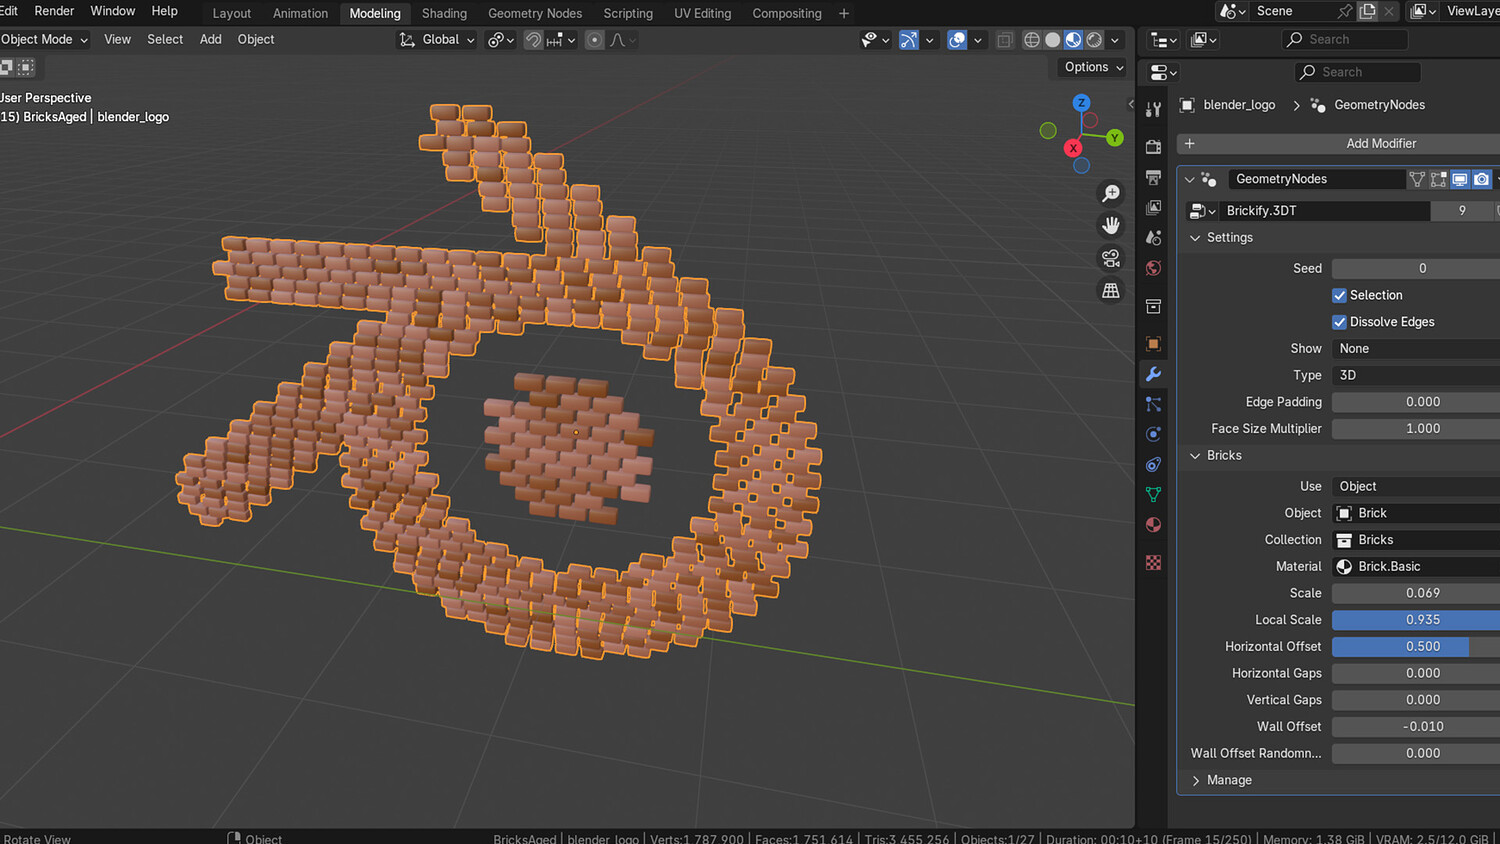
Fine-tune brick size, local scale, edge padding, face size, and randomized brick offset for perfect detailing.
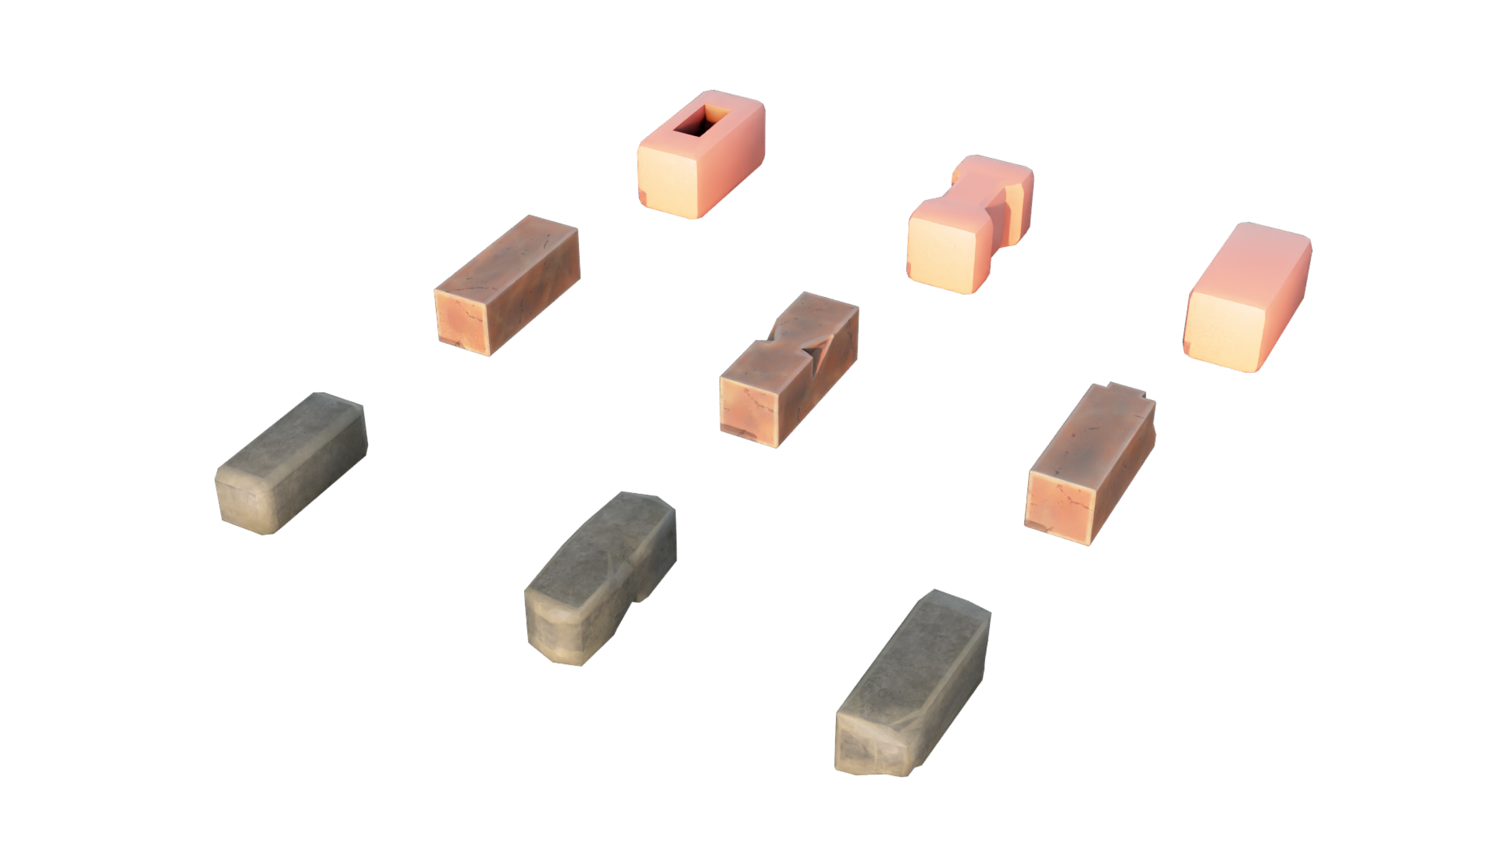
3 Brick Collections and Materials
Switch between weathered, stylized, and traditional brick collections — full material swap included.
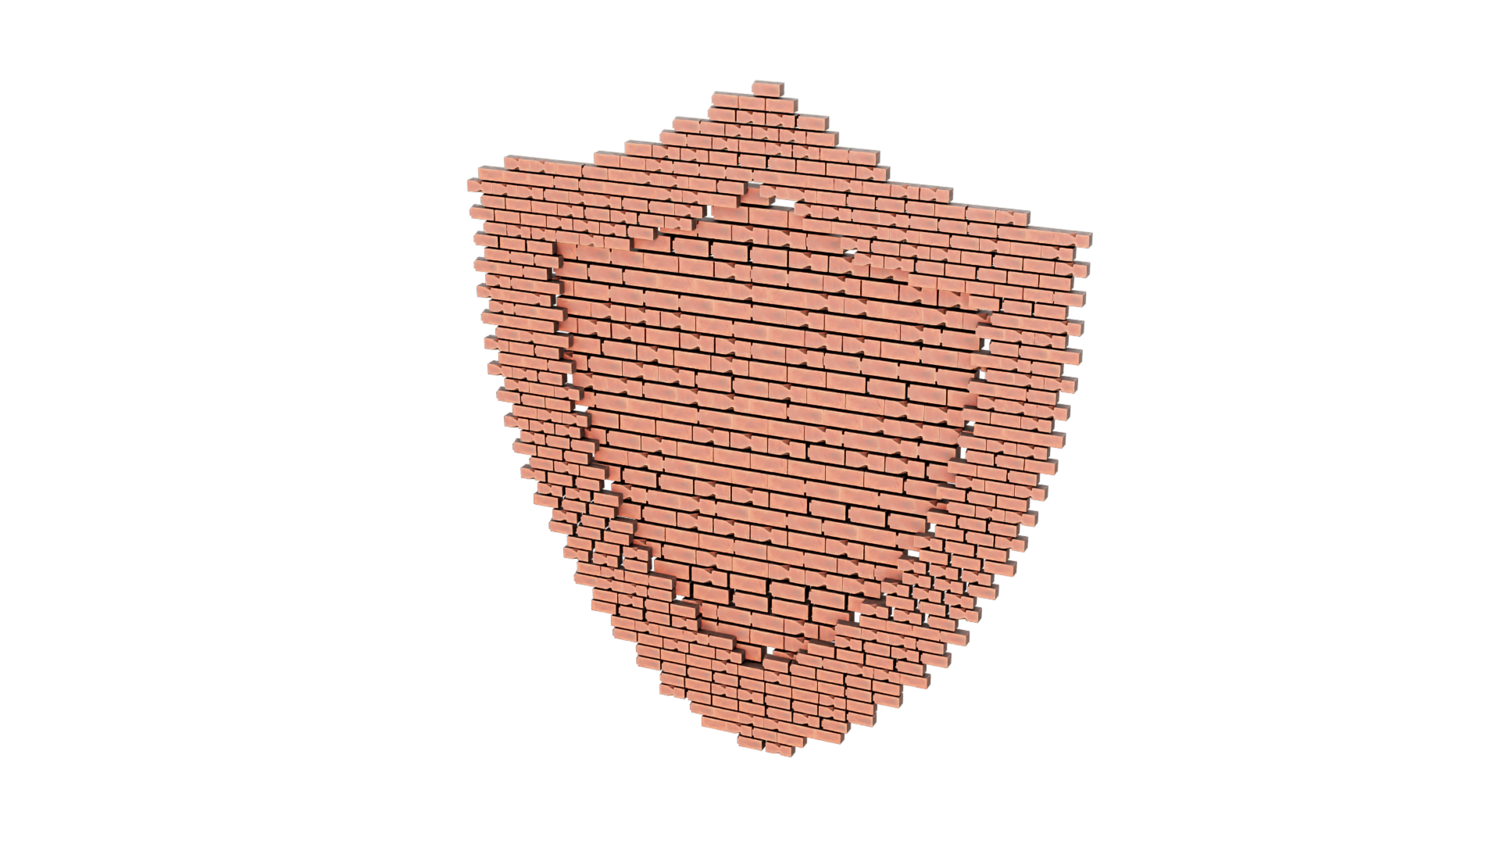
Selective Painting for Gaps and Openings
Use vertex painting to define exactly where bricks appear — perfect for windows, hatches, and destructed walls.
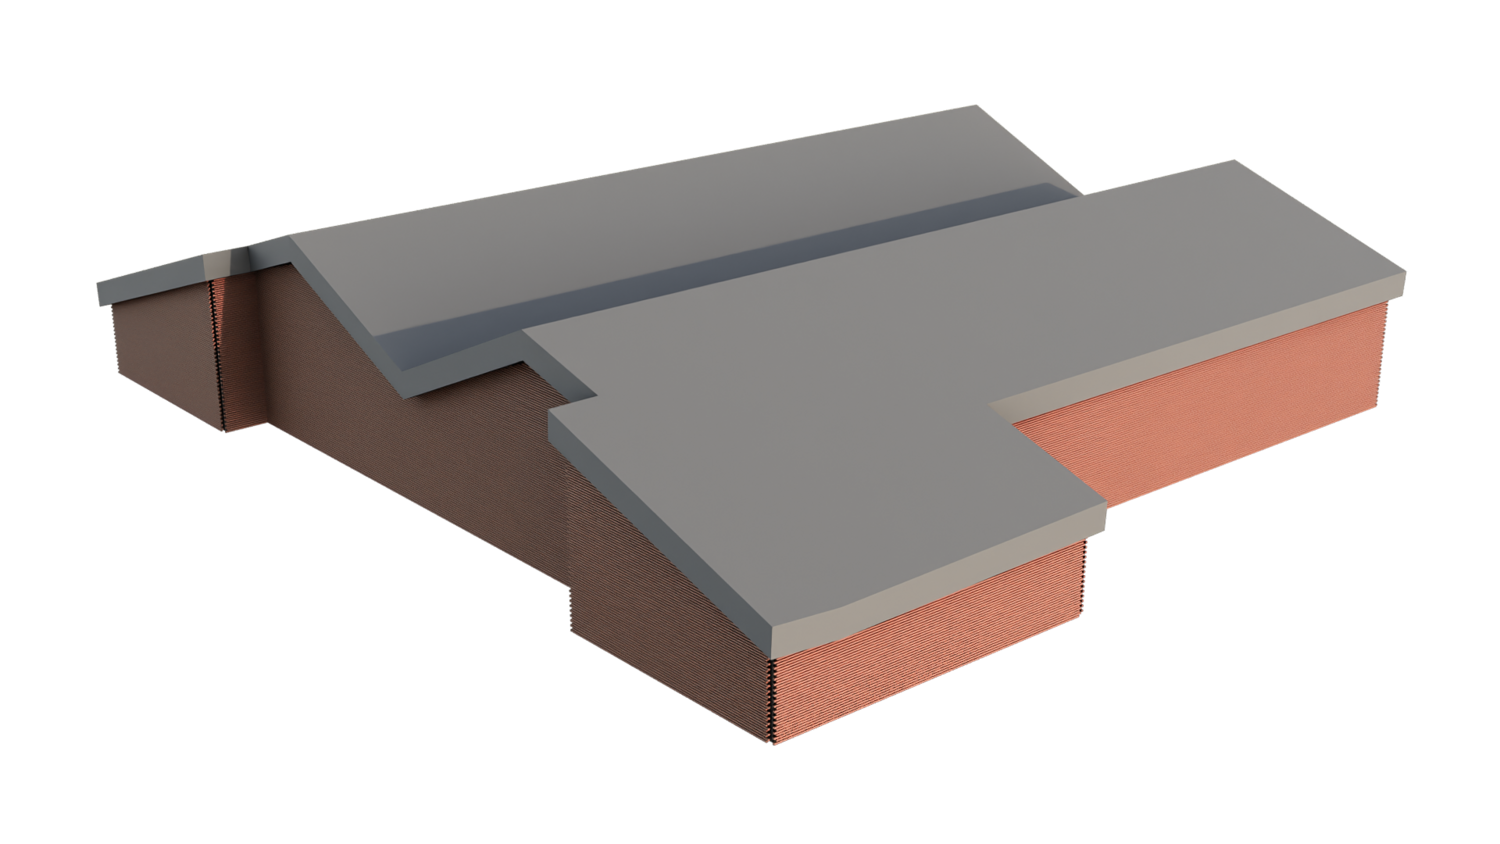
Advanced Wall Building Features
Control horizontal/vertical gaps, wall layering, randomized offsets, dissolve edges, and surface adaptation settings.
🔥 Why You'll Love It

Massive Time-Saver for Architecture and Stylization
Skip tedious modeling and directly apply beautiful, dynamic brick surfaces in seconds.
Extreme Customization Freedom
Create anything from worn medieval towers to pristine city sidewalks by adjusting simple sliders.
Perfect for Games, Concept Art, and Film
Optimized geometry node system ensures fast real-time editing with production-quality results.
Expandable with Custom Assets
Swap bricks or add your own mesh collections to fully personalize your designs.
📦 What's Included
- 1x Blender .blend file with full Brickify Geometry Node setup
- 3 preset brick collections (weathered, stylized, traditional)
- Material override system for custom variations
- Vertex paint selection setup for gaps and destruction
- Optimized for 2D and 3D surfaces with wireframe visualization options
⚙️ Requirements
- Blender 4.0 or newer with lifetime updates
- From noob to pro — watch the 10 minute video to have everything up and running in no time
🚀 Installation Instructions
Method 1 – Add to Asset Library
- Download and unzip the product folder.
- Open Blender → Edit → Preferences → File Paths → Asset Libraries → click the "+" button.
- Navigate to the extracted folder and add it.
- Open the Asset Browser and drag the Brickify setup into your scenes.
Method 2 – Manual Append
- Open your Blender project.
- Go to File → Append → Locate the .blend file → Import the Geometry Node group.
Method 3 – Copy and Paste Between Projects
- Open the project containing the Brickify setup.
- Select the Geometry Node group.
- Press Ctrl+C to copy.
- Open another Blender project and press Ctrl+V to paste it directly into your scene.
💬 Support
Need help? Join our growing 3D Tudor Discord community to connect with our support team and hundreds of fellow artists!
👉 Join the 3D Tudor Discord here
Model Details
- FormatsBLEND
- Polygons0
- Vertices0
- animatedno
- materialsyes
- texturesyes
- riggedno
- uvsno
- 3d print readyno
You will get 2 files
All files previously purchased will always be available for download in your Library