
Speed Up Your Texturing Workflow in Substance Painter
Mastering Efficiency with Smart Materials & Pre-Made Assets https://youtu.be/Jpd4SaGAXAY Texturing can be one of the most time-consuming aspects of 3D asset creation, but with the right approach, you can significantly streamline your workflow. In this tutorial, we explore how to use pre-made smart materials, alphas, and stencils in Substance Painter to achieve stunning results in a fraction of the time. Whether you're working on game assets, cinematics, or portfolio pieces, these techniques will help you level up your texturing process.
🛠 Setting Up for Success Before diving into texturing, it's crucial to organize your project efficiently:
Folder Structure: Keep materials, masks, and layers organized for easy adjustments. UV Alignment: Ensure your UVs are clean for optimal texture projection. Material Separation: Use masks to define different material regions early on. Pro Tip: Starting with a structured approach saves time when refining details later. 🎨 Applying Smart Materials for Realism One of the fastest ways to get high-quality results is by leveraging pre-made smart materials. Instead of manually building layers from scratch, smart materials offer a base with realistic wear, roughness, and detailing already baked in.
In this tutorial, we used:
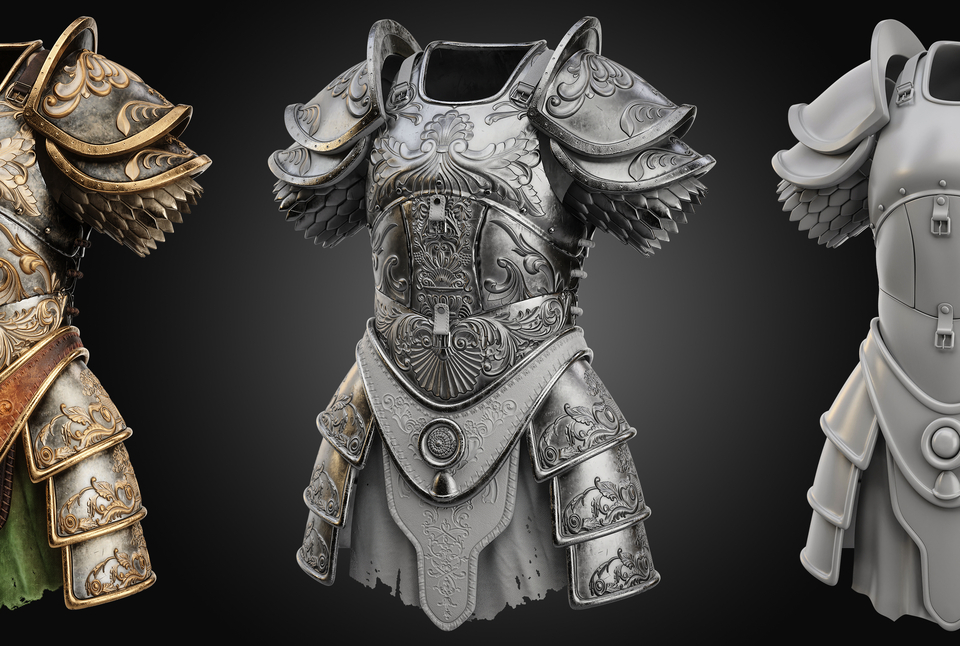
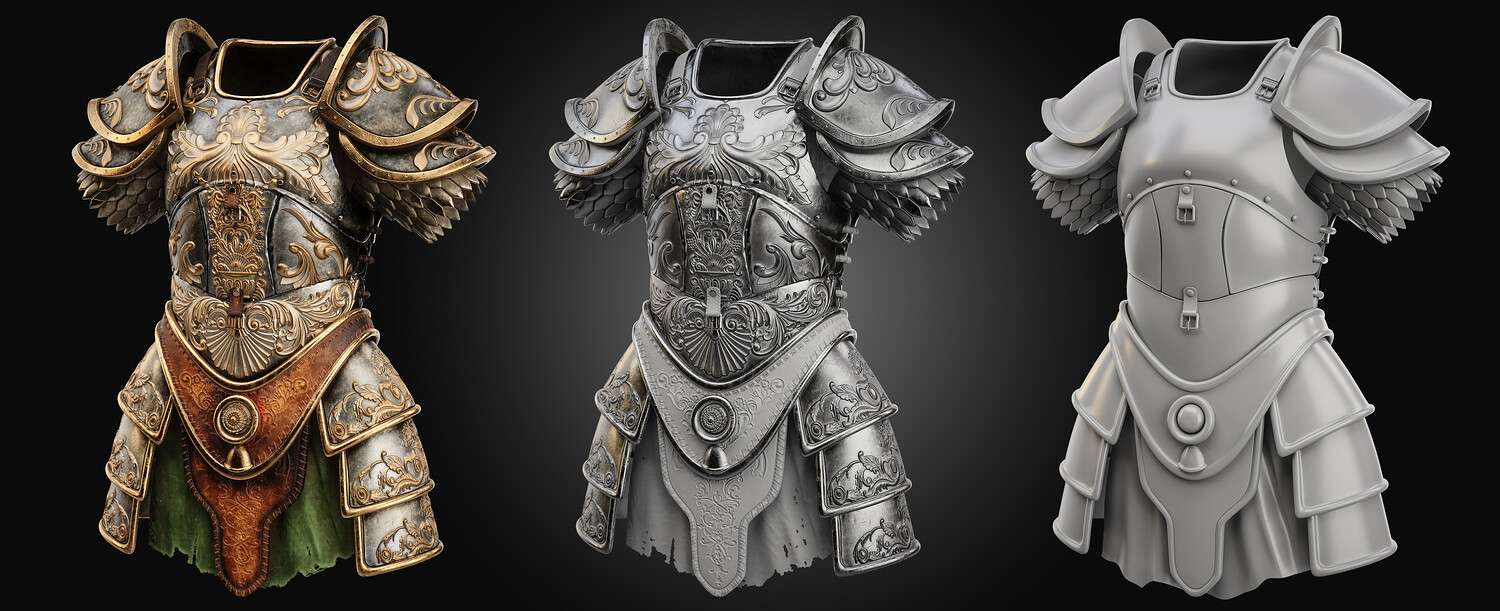
Bronze Armor Material for metallic borders Cotton Smart Material for fabric sections Steel Stain for subtle surface details 👉 Get these smart materials here:
SmartMaterials Set 1: artstation.com/a/36950243 SmartMaterials Set 2: artstation.com/a/454789 SmartMaterials Set 3: artstation.com/a/36950266
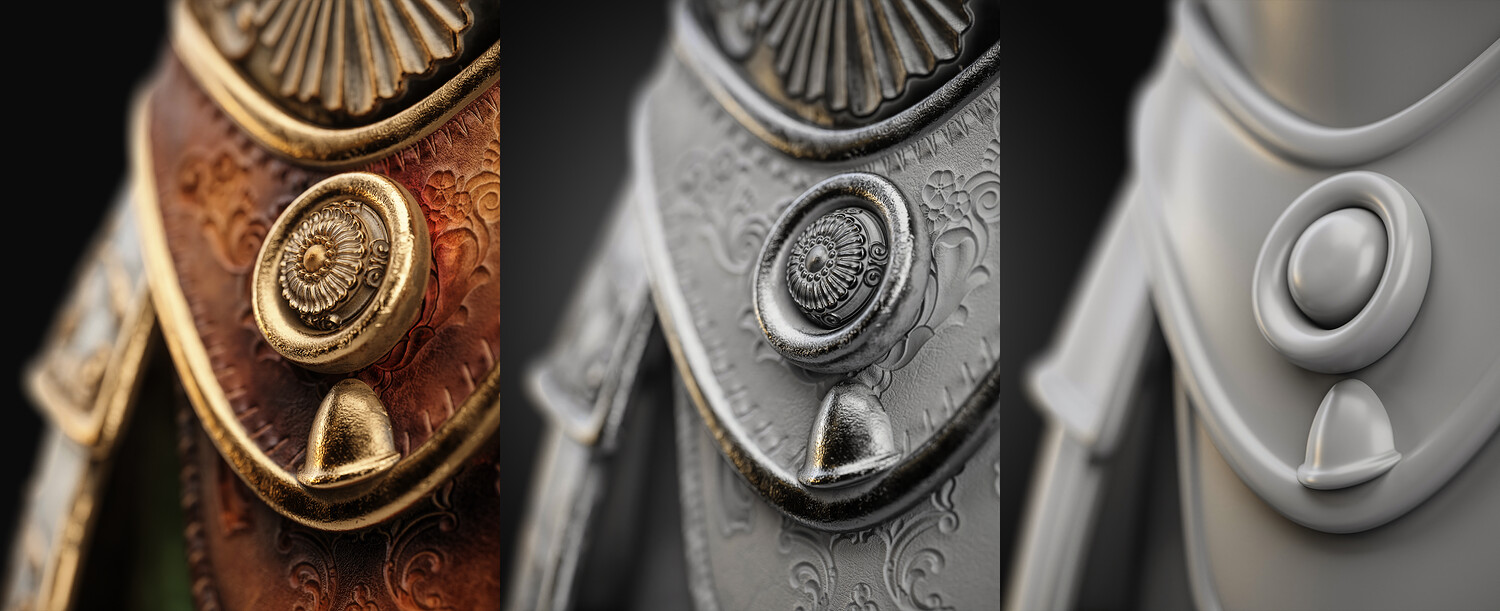
👜 Refining Leather Textures Leather detailing is key for creating realistic medieval or fantasy armor. To enhance the look:
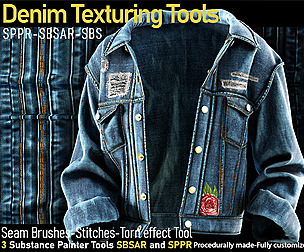
Use custom smart materials for color variations. Add curvature-based adjustments to emphasize wear. Apply a stitching brush for added realism. Check out the Torn Stencil used in this project for realistic fabric wear:🔗 artstation.com/a/11893586
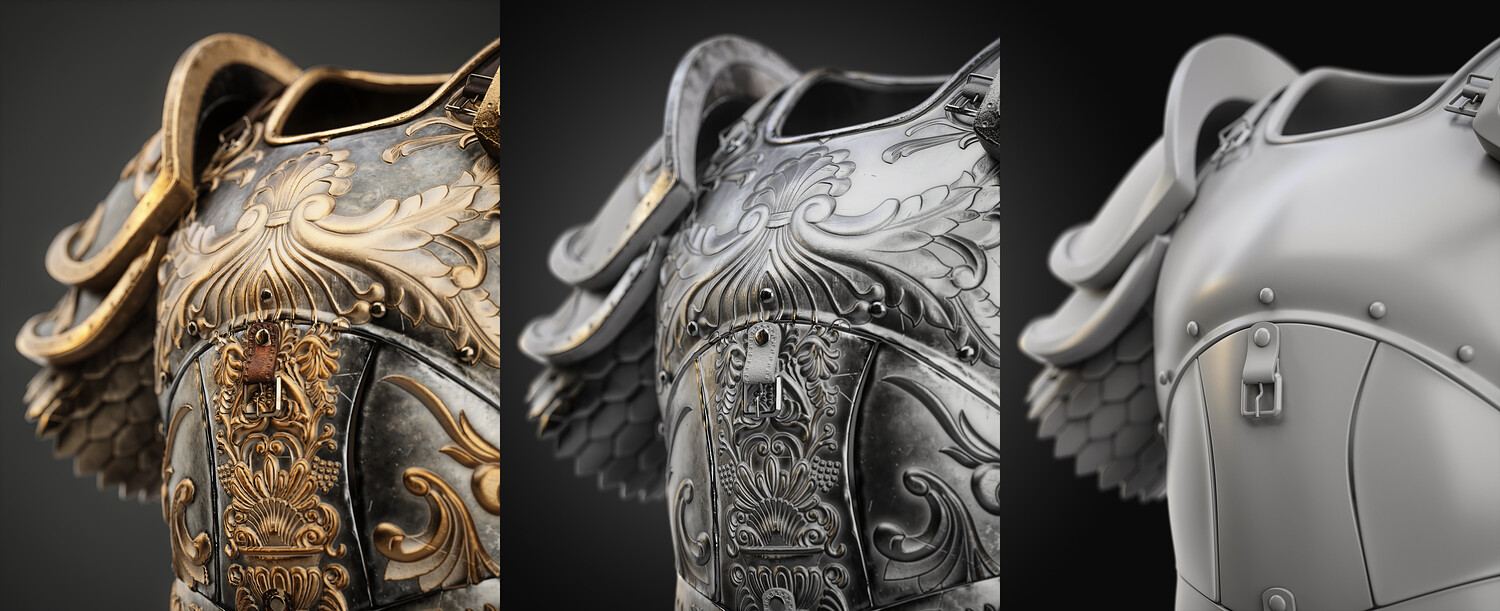
🔩 Enhancing Metal Surfaces with Ornament Alphas For an extra touch of detail, ornament alphas can make metallic surfaces look handcrafted and intricate. Instead of sculpting from scratch, using pre-made ornament patterns allows for quick and stunning detailing.
In this tutorial, we utilized:
Ornament Alpha Pack 1: artstation.com/a/12892067 Ornament Alpha Pack 2: artstation.com/a/1452805 Layering these details with height and roughness adjustments gives metal a hand-engraved look.
🌟 Final Polish & Presentation After layering materials and details, a few final touches bring everything together:
Ambient Occlusion Enhancements (AO+) for added depth Dirt & Edge Wear Layers to blend materials naturally Final Color Corrections to unify the asset’s overall look 🚀 Want to speed up your workflow? This tutorial demonstrates how pre-made assets can dramatically cut down your texturing time while maintaining high-quality results.
Explore the full armor model used in this tutorial here: 👉 Armor Model :artstation.com/a/36950238
📢 Conclusion & Next Steps With the right assets and workflow, you can cut down production time without sacrificing quality. If you’re looking to optimize your Substance Painter workflow, pre-made assets are an essential tool.
💬 Let us know what you think in the comments! Have you tried using smart materials and alphas in your workflow? Share your experiences!
🎓 Want to take your skills further? Stay tuned for our upcoming Substance Painter: Zero to Hero course!
🔗 Resources Used in This Tutorial:
Model: Armor Model : artstation.com/a/36950238 Torn Stencil: Stencil Pack : artstation.com/a/11893586 Smart Materials: Set 1 | Set 2 | Set 3 artstation.com/a/36950243 artstation.com/a/454789 artstation.com/a/36950266 Ornament Alphas: Alpha Pack 1 | Alpha Pack 2 artstation.com/a/12892067 artstation.com/a/1452805
Model Details
- FormatsFBX
- Polygons0
- Vertices0
- animatedno
- materialsno
- texturesyes
- riggedno
- uvsyes
- 3d print readyno
You will get 2 files
All files previously purchased will always be available for download in your Library